

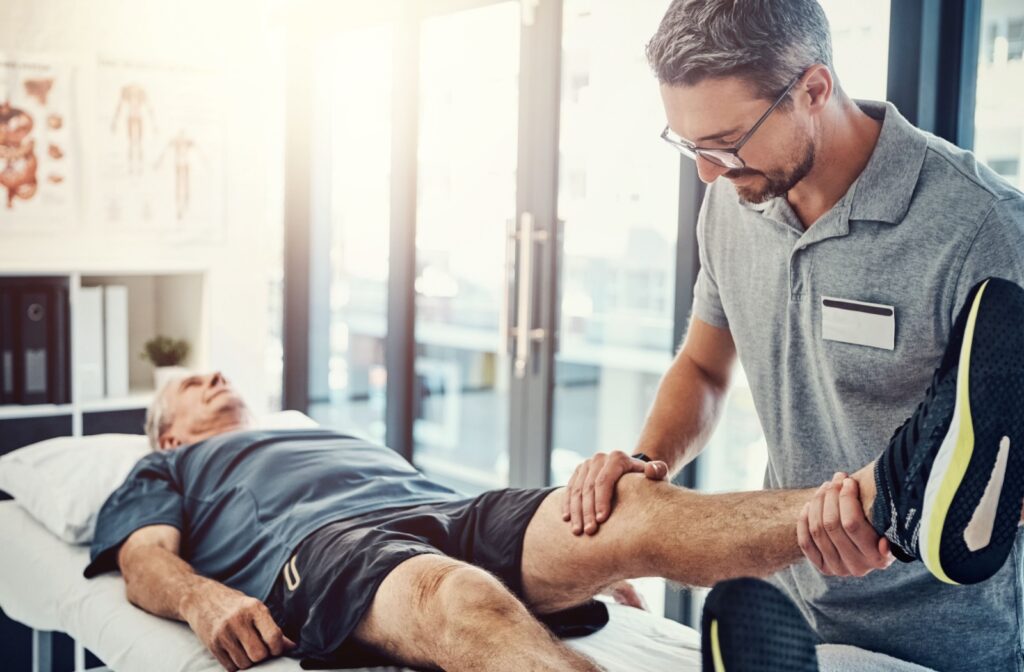
Arriving prepared can turn a first physiotherapy appointment from a general chat into a targeted plan. If you are dealing with a sore knee after hill repeats, a stiff lower back after long commutes, or a shoulder that complains during overhead presses, a little prep helps your clinician test the right things and tailor your exercise program. This guide covers what information to gather, what actually happens in a typical musculoskeletal assessment, what to wear and bring, and how to manage the first week after your session. The goal is simple: clearer findings on day one, fewer false starts, and a smoother path from pain to confident movement.
-
Map your pain history and define a clear goal
Before you book, write a short timeline of your symptoms, the mechanism of injury (if any), and a list of aggravating and easing factors. Note your 24-hour pattern, including morning stiffness, sleep disturbance, and whether sitting, stairs, or running provoke symptoms. If you live or train around the Northern Beaches, bringing this context to a clinic such as Fixio Manly Physio helps the clinician connect your training load and daily demands to a practical plan on day one.
Be specific. Instead of “my knee hurts,” try “sharp pain around the kneecap during downhill steps, settles with flat walking, sore for two hours after runs.” Sketch a quick pain map and record a 0–10 pain rating at rest and during key tasks. List any current medications, including recent use of anti-inflammatories, because they can dampen symptoms and influence test responses. Flag any red flags, such as night pain unrelieved by rest, unexplained weight loss, or numbness and weakness, as these may change assessment priorities.
-
What typically happens in a musculoskeletal assessment
Your clinician will start with a subjective history, then move into objective testing. Expect range-of-motion checks for joints above and below the painful area, manual muscle testing of key muscle groups, and functional tasks such as a single-leg squat, step-down, or hop test. For shoulders, they may use provocation tests like Hawkins-Kennedy; for knees, special tests such as Lachman or McMurray can help screen ligament or meniscal involvement. Gait analysis, squat mechanics, and palpation of tendons and joint lines often round out the picture.
These tests aim to identify load tolerance and symptom behavior, not just a label. For example, if a single-leg squat reproduces pain around the kneecap but joint-line palpation and twisting are comfortable, patellofemoral pain is more likely than a meniscal issue. That distinction changes rehab: hip abductor and quadriceps control work may take priority over rotation-sensitive drills. Likewise, limited lumbar extension with leg symptoms points management toward neural mobility and directional preference rather than pure core endurance.
-
Bring items that sharpen the assessment
A brief training log is gold. Jot down weekly mileage or minutes on feet, recent intensity changes, and any spikes from hills or speed work. Wearables can help too; step counts or heart rate trends provide objective context. Bring your running shoes or court shoes so the clinician can inspect outsole wear and midsole collapse, and bring any orthotics you use. If you have imaging, pack the radiology report and images if available. A current medication list matters because recent NSAID use can mask pain during resisted testing, potentially overestimating tissue tolerance.
Two quick scenarios show how these details help. A runner with Achilles pain who brings worn trainers, a two-week spike in hill repeats, and a log showing back-to-back hard days makes an overloading pattern obvious; the plan can emphasize eccentric calf raises, isometrics for pain modulation, and a walk-jog schedule that avoids consecutive intensity. A desk worker with neck and shoulder pain who shares photos of a high monitor and armrests set too low points the assessment toward scapular control, workstation setup, and breaks every 30–45 minutes, not endless stretching alone.
-
Clothing, timing, and movement testing practicalities
Wear clothing that lets you move and exposes the area being tested. For knee or hip assessments, bring shorts; for shoulder work, a tank or sports bra allows clear observation of the scapula. Avoid tight jeans or restrictive leggings that hide bony landmarks and limit range-of-motion checks. If you use braces or kinesiology tape, be ready to remove them briefly so you can examine the skin and joint play. A hair tie helps during cervical and shoulder exams, and bringing a small towel makes floor-based tests and exercises more comfortable.
Common mistakes can blur findings. A hard workout right before your appointment can flare irritable tendons and make baseline testing unreliable; conversely, taking a strong painkiller to “get through the session” may mask symptoms during load testing. Schedule your visit on a typical day for your symptoms and aim to arrive slightly warmed up from normal walking, not fatigued from maximal training. There is a trade-off between modesty and visibility: choose layers you can remove when needed and put back on during discussion.
-
After your session: implement, load, and monitor
Expect a home exercise program with specific sets, reps, and tempos. Early-stage Achilles tendinopathy often starts with isometrics, then moves to slow eccentric calf raises; patellofemoral pain may emphasize hip abductor strengthening, step-down control, and gradual exposure to stairs; rotator cuff irritation often benefits from external rotation with a resistance band alongside scapular retraction work. Track your response using a simple traffic-light rule: green is discomfort up to 3 out of 10 that settles within 24 hours, yellow warrants caution and dosage adjustment, and red means stop and report back. Use ice for a warm, swollen joint and heat for morning stiffness without swelling; each changes tissue feel and symptom response in different ways.
Manage training with an RPE scale so the clinician can progress load without guesswork, and record 24-hour symptom behavior after new drills. Differentiate normal delayed-onset muscle soreness from a symptom flare: DOMS peaks 24–48 hours in the muscle belly, while a flare usually targets the original pain site and lingers through daily tasks. If symptoms escalate, you notice new numbness or weakness, or your exercises produce pain that exceeds your agreed thresholds, pause and contact your clinician. With a clear goal, honest data, and a week of consistent practice, your second session can focus on progressing load rather than rehashing the basics.
